Materials: Frosta Stool, Screws, Screwdriver
Description: These are Frosta stools (a copy of an Alvar Alto stool for Artek) hacked into small coffee tables by moving the legs around (and using it differently than intended). I did not make these, I just saw them outside a place called Tully's Cafe on the corner of Götgatan and Högbergsgatan in Stockholm, and thought I'd submit them.
Not sure if the stools are available at IKEA in the US though? They are called Frosta in Sweden at least.
~ Johan Perjus, Stockholm, Sweden
Back on June 13, 2008, someone posted a piece about using Pax wardrobes as a room divider (Bedroom series #5: Room dividers for your bedroom). My daughter wants to do this, but I'm not sure how to attach the laminate flooring to the backs of the cabinets. Is there any way to find out how this was done? Thanks.
~ John
Materials: 2 cabinet doors from IKEA's scratch-and-dent section
Description: I found two great cabinet doors in the scratch-and-dent section at my local IKEA. They were begging me to take them home!
One of the doors had two glass panels, and the other had one glass panel and one wood panel.
I've been looking for some way to display my son's artwork, so I had an idea.
I painted the bottoms of both pieces with chalkboard paint. I wasn't so sure about painting over the glass, but it worked well.
I put some artwork behind the glass pieces, and then the chalboards at the bottom are for doodling and my son's daily "to do" list.
The cabinet doors look great in his room and they are useful!
~ Laura Stephens, United States
Materials: Asker hanging containers, pretty Japanese paper, Mod Podge, paint brush
Description: Once upon a time these containers looked nice and white. However, after a few months of hanging above our kitchen bench for cutlery storage they became scratched and well, not so nice looking.
Mod Podge
I love this stuff! Now I'm searching the apartment for more Mod Podge candidates. Mod Podge is an all in one glue, sealer and finisher that can be applied to just about anything.
Step 1: Gather your Asker containers and wipe clean.
Step 2: Cut your pretty Japanese paper into small square pieces, or any shape you like. Smaller 1" pieces bend easier around the container's curves.
Step 3: Using the paint brush spread a layer of Mod Podge on the container. Work in small sections so the glue does not dry out.
Step 4: Stick the paper to the container and spread another layer of Mod Podge over the top, and so on until the whole container is covered (I didn't cover the back to save on paper).
Step 5: Once this first coat is dry, I waited until the next day, spread another layer of Mod Podge over the whole container. Just to make sure all the crevices are covered and sealed. Wait another day to dry.
Voila! Pretty Japanese paper patchwork Asker containers!
Sorry, I didn't take before and after photos, but with this hack it's fairly easy to imagine the before.
~ Cindy, Toronto, Canada
OK, I know I’m not the only one who daydreams about winning the lottery. I think about the healthy college and savings accounts we could create, paying off our house and of course, because I’m a house nut and nuts for our house, I think about all the projects we would do around here.
It makes me giddy!
But there’s a little bitty issue. We don’t play the lottery. And like we’d actually win if we did.
DRATS.
So unless money starts falling from the sky, I will stick to dreaming. :)
But I do love thinking about it. What would we do to our house if said cash fell from the sky? It really doesn’t have to be meeeellions. Just a few extra grand. I’m not picky!
I’ve had a mental list for years. You know, just in case. :)
I would start in the kitchen. Because I like our cold food COLD -- call me crazy.
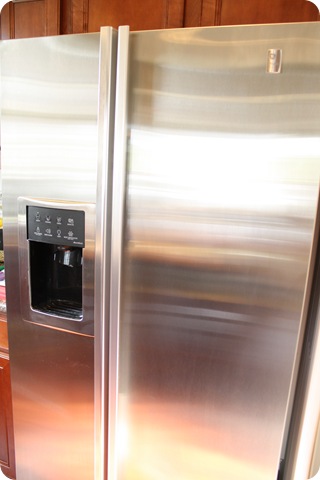
Our fridge looks great:
(Actually, most days it doesn’t look nearly this good. I cleaned for you.)
But the freezer door doesn’t stay shut anymore. Pretty much daily I’ll open it to find a layer of ice forming over everything. And the whole side by side thing is great, if you like to visit the grocery every three days.
Cause that’s all the food that will fit:
Of course I’ve found a way to smash the box of mini ice cream drumsticks in there. ;)
Me at the grocery store:
“Meat to make dinner or ice cream drumsticks? Meat or drumsticks? Hmmmm…drumsticks please.”
My priorities are crystal clear. :)
And you’d think the door not closing is due to my fantastical freezer organization, but it’s not. The food isn’t the issue. The door just doesn’t seal unless we close it just right.
I dream of one of these beauties:
With big, wide drawers for frozen stuff. Big enough for a pizza! Or FIVE. Whatever.
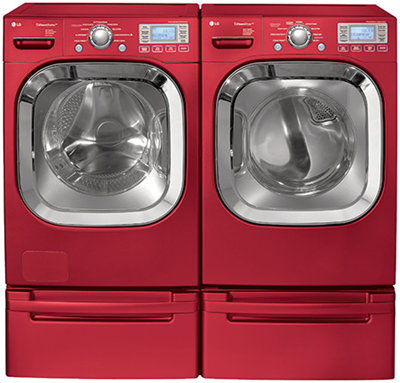
My appliance dreaming continues into the laundry room. Sometimes I feel like the only house left in the country that doesn’t own a set of these babies:
And Ugg boots. The only house without a fancy washer and dryer…and Uggs. :)
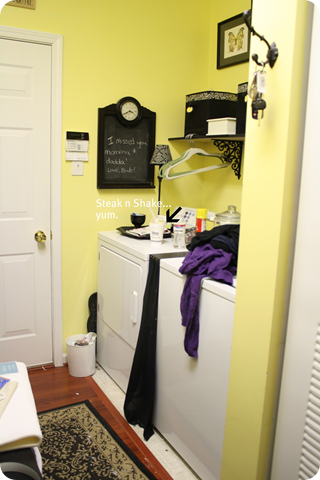
But our seven year old set is still kickin’.
Can you tell I cleaned for you in here too? No?
I’ve pretty much given up on this space. :)
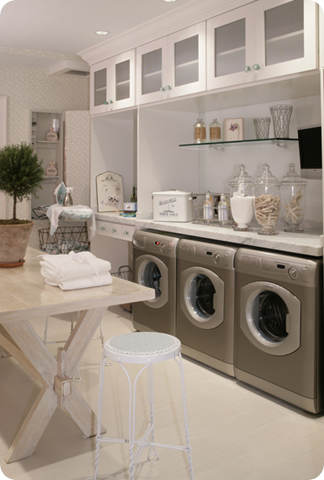
I’ve mentioned before we plan on moving our washer and dryer to another spot in the house, and it would be awesome if I had mucho dinero to turn it into this:
I don’t ask for much people. Three washers? Pushaw…I MUST HAVE THEM.
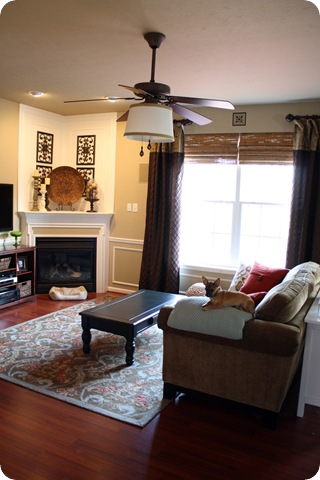
You know our family room has been a thorn in my side since day one. I dream of pushing out our window wall about five feet:
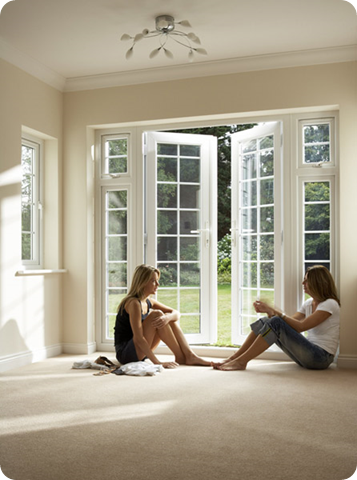
And installing some beautiful French doors instead:
And if I could buy the skinny, I’ll take that too. :)
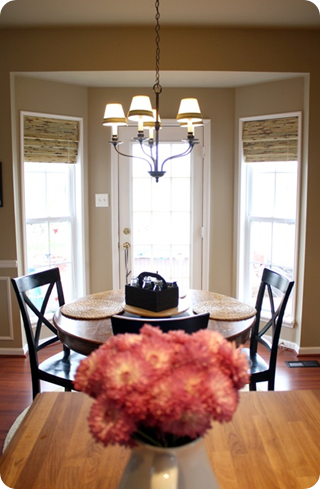
Since we’d have the doors there (can you tell I’ve thought this all out?), we wouldn’t need the door in the kitchen bay window anymore:
It can get a bit tight maneuvering around our kitchen table, so I have to keep our chairs pushed in all the time to move around comfortably.
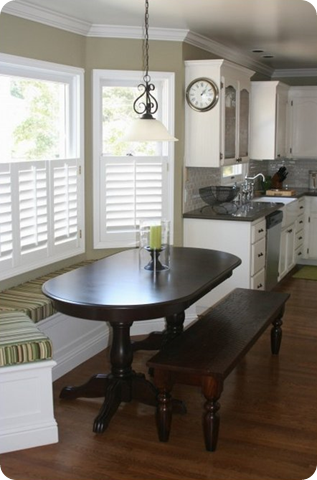
But with our money-from-the-sky, I could create my dream bay window, with bench seating all around:
Isn’t that beautiful? Loverly! I can just see it!
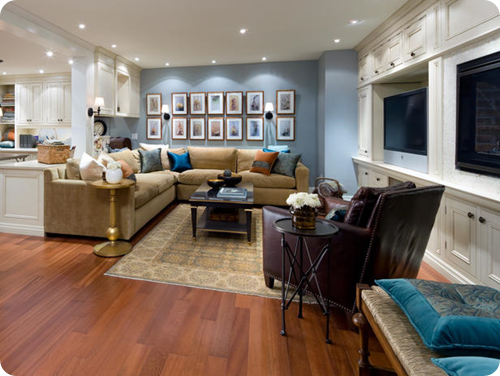
And because money wouldn’t really be an issue, let’s throw in a finished basement, just for kicks:
And if Candice herself could come help me decorate it, that would be fun too. ;)
Well, that’s my short list. I haven’t even touched the outside. My outdoor plans include trying to fit a pool in our tiny backyard. I have it all figured out in my head and it totally works. :)
You all know how much I adore our house by the way – I’m full out in LURVE with our home. I appreciate every inch of it, but it never hurts to daydream, right?
So what would be on your short list if you had plenty ‘o cash to spend on your current home? Not a brand new one – the one you’re working with right now. Or have you made one of your daydreams a reality? Do tell! I am SO determined to get our washer and dryer moved – I can barely contain my excitement!!
P.S. You will now have the Barenaked Ladies song playing in your head all day. You. are. welcome. :)
Materials: Malm dresser, wood boards, screws and glue
Description: Malm dresser can be used as a standard changing table and later as a normal chest. With 1m a perfect height to work (baby wrap) and with extra high side panels.
Malm with increased support for standard changing pads. (75 x 85 cm)
Both sides and head are connected with the board back
The cultivation is screwed on an angle on the rear wall of the chest no holes or screws on the top
On the sides, the Ikea trash and Ikea washing basin are appended. (I do not know the name)
If a station is no longer required, the additional bearing surface can be unscrewed easily.
~ Jens, Germany


